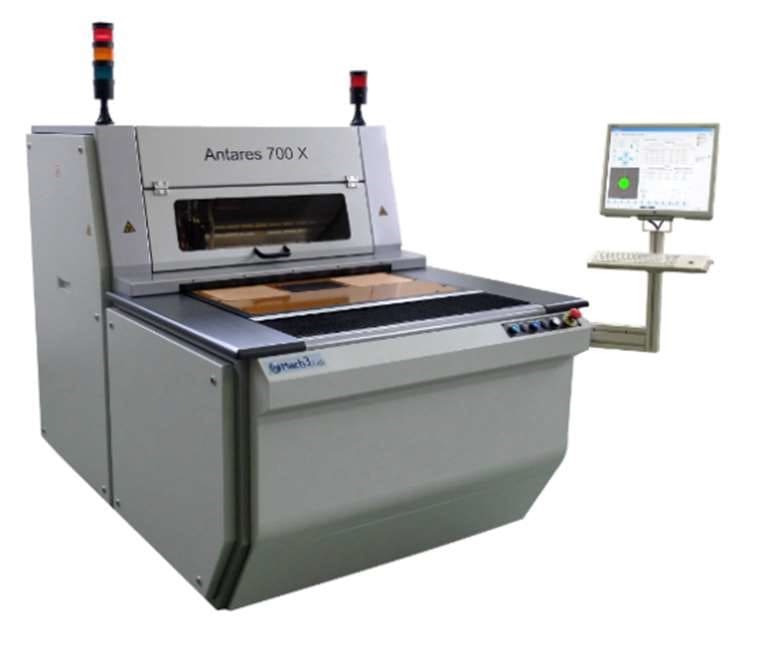

Antares: Inner Layer Alignment
The Antares is a family of machines which analyzes inner layer alignment and tool panels for drilling
- Small footprint machine with cycle time of approximately 20 seconds per panel
- Design options include fully manual to fully automatic machines
- Performs both Stacked and Staggered Target analysis
- Drills using Best Fit centerline tooling and Scaled holes
- Non-conforming panels segregation
- Indexing alignment system which positions panels to ensure unused backup is present under the tooling locations
- Capable of tooling inner layers
- Analysis data can be output for offline analysis of material movement and image scaling
- Stencil Device option marks the edge of the panel with job specific information and scaling values
- ATC option upgrades the spindle for pneumatic to electric and allows for automatic tool change
| Model | A1 | A2 | A3 | |
|
Panel Load |
Manual | Manual | Automatic/Manual |
Automatic/Manual |
|
Panel Unload |
Manual | Manual | Automatic/Manual |
Automatic/Manual |
|
Maximum Panel Size |
(X )29.1” x (Y) 25.5” |
(X )29.1” x (Y)25.5” |
(X )26.7” x (Y) 22.8” | (X )26.7” x (Y) 22.8” |
|
Minimum Panel Size |
(X) 11.8” x (Y) 7.9” | (X) 11.8” x (Y) 7.9” | (X) 12.6” x (Y) 12.6” | (X) 12.6” x (Y) 12.6” |
|
Maximum Thickness – X-Ray |
.0118” – .236” | .0118” – .236” | .30mm – 4.0mm | .30mm – 4.0mm |
|
Minimum Thickness |
.004” (*) | .004” (*) | .004” (*) | .004” (*) |
|
Maximum Weight- Autoload |
– | – | 6.6 lbs. | 6.6 lbs. |
|
Cycle Time Per Panel |
15 seconds (**) | 15 seconds (**) | 15 seconds (**) | 15 seconds (**) |
|
Cycle Time Per Panel |
3 panels per minute (**) |
3 panels per minute (**) |
3 panels per minute(**) |
3 panels per minute (**) |
| Options | ||||
|
Automatic Tool Change |
Available | Available | Available | Available |
|
Serialization Device |
Available | Available | Available | Available |
|
Thickness Measurement |
– | – | Available | Available |
- Thickness Measurement option measures the thickness of the panel in multiple locations
Notes: * Requires special vacuum **4 targets and 3 holes
